Welcome to Rosetta Tutorial 
This tutorial introduces Rosetta through a series of practical tasks. You’ll explore the interface and learn how to use the Ingest Function Mapping workflow.
In this section, you will go through the following tasks:
- Task 1: Signing into Rosetta
- Task 2: Creating a new Workspace
- Task 3: Ingesting Demo sample data and viewing as a Rune object
- Task 4: Modifying the sample data to resolve validation mismatches
- Task 5: Signing out
Task 1: Signing into Rosetta 
Sign in to Rosetta at https://ui.rosetta-technology.io.
Task 2: Creating a new Workspace 
Once signed in, you will be taken to the Workspace Manager.
- Create a workspace named
"Tutorial". - Select the latest version of the Demonstration Model (
"Demo").
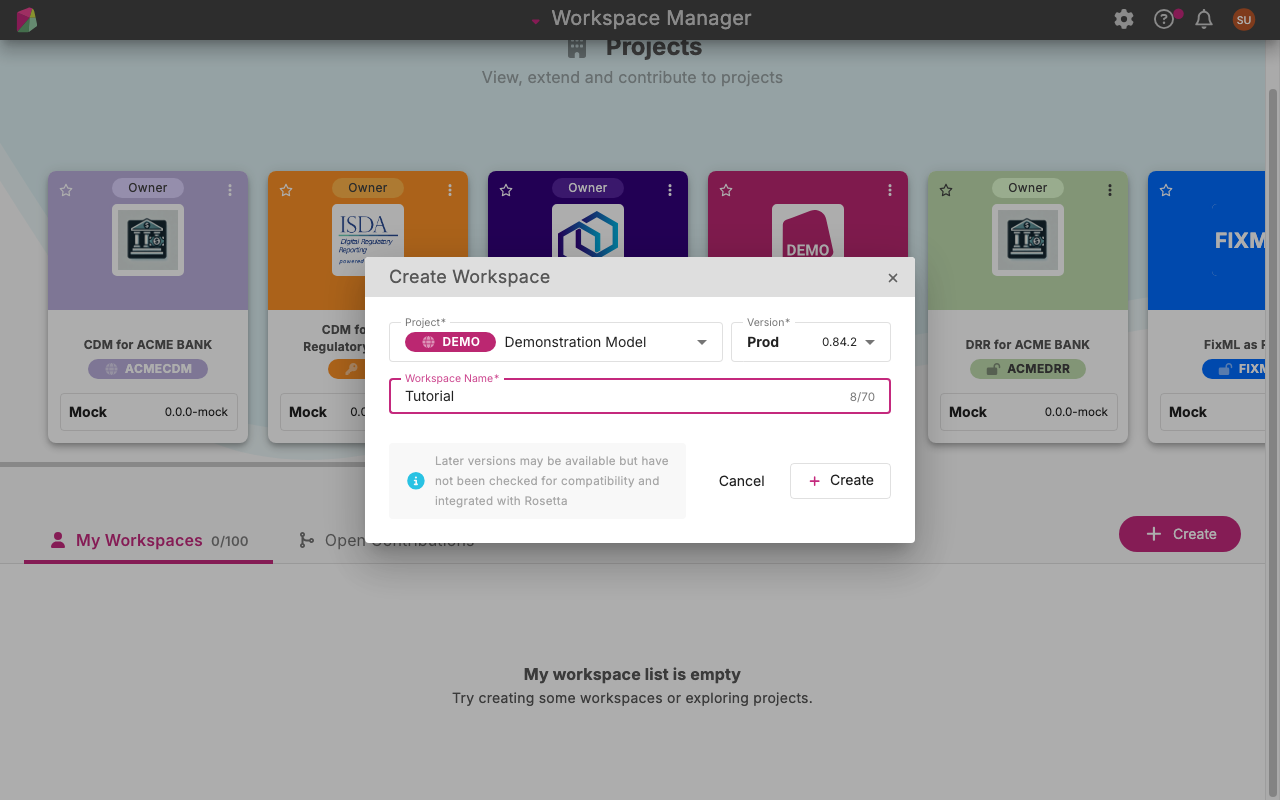
Once it’s ready, you’ll land on the Home page of your Demo workspace.
Task 3: Ingesting Demo sample data and viewing as a Rune object 
Plan Availability: Ingestion functionality and advanced Engine features are available starting from the Essentials package.
If you are currently on the Community plan, you can still follow along and explore these ingest features by opening a read-only model project directly without creating a new custom workspace. For a full breakdown of feature tiers, visit the Rosetta Pricing Page.
To ingest an external data format (such as an XML document) into a Rune object:
- Click on the Ingest tab located in the bottom panel.
- Select demo External Vehicle And Licence Data To Vehicle Ownership from the Ingest function list, then choose Passenger vehicles as the test pack.
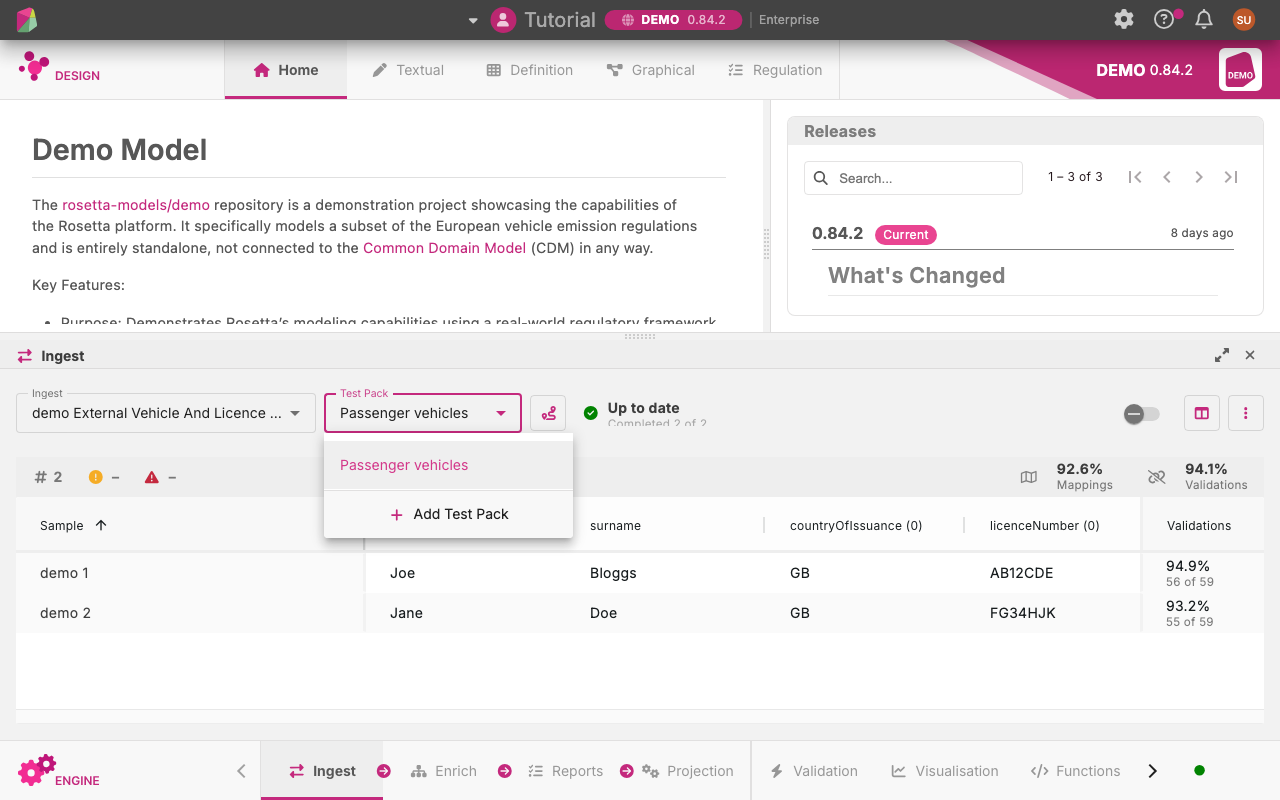
- Download the sample file here: Demo XML Sample.
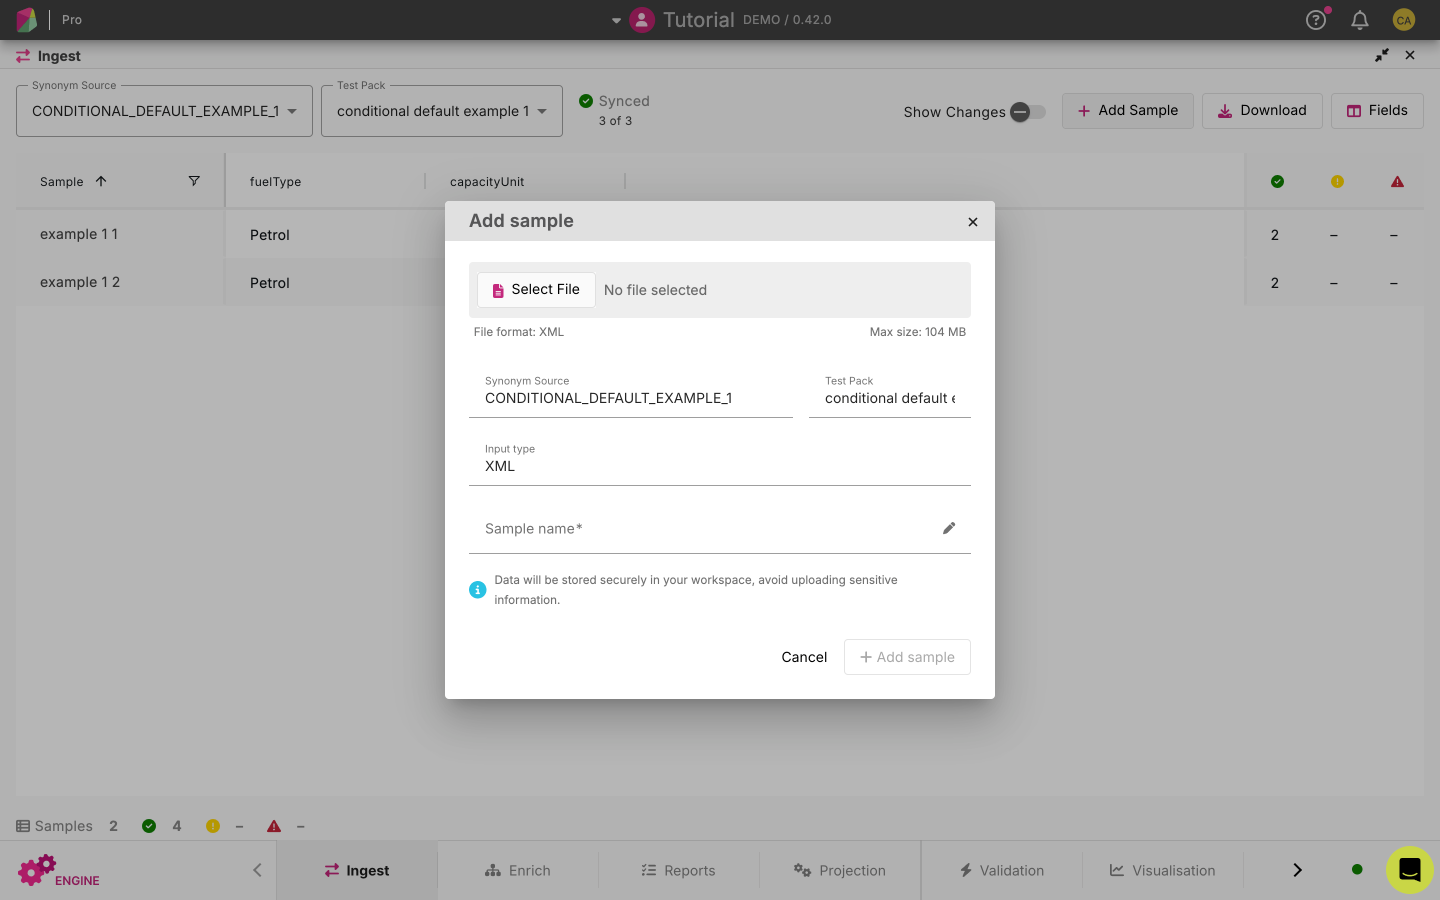
- Upload it by navigating to Options > Add Samples at the top right of the panel.
Rosetta automatically starts ingestion when the sample is uploaded. Once ingestion completes, you will see that the sample is accepted, but the validation score for this sample displays 98.3%. This indicates an Expectation Mismatch, meaning that some mandatory fields are not present.
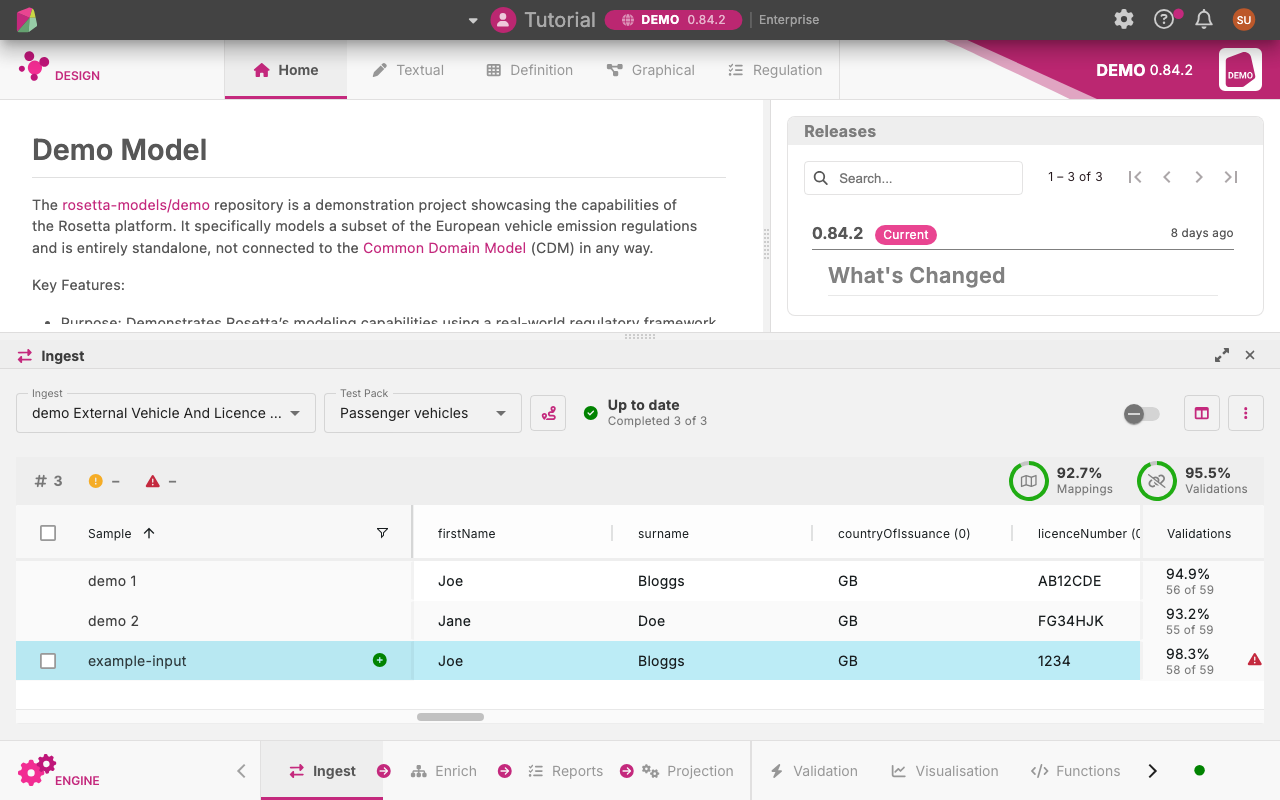
Click the sample row to open its details.
Navigating Content and Finding Missing Fields 
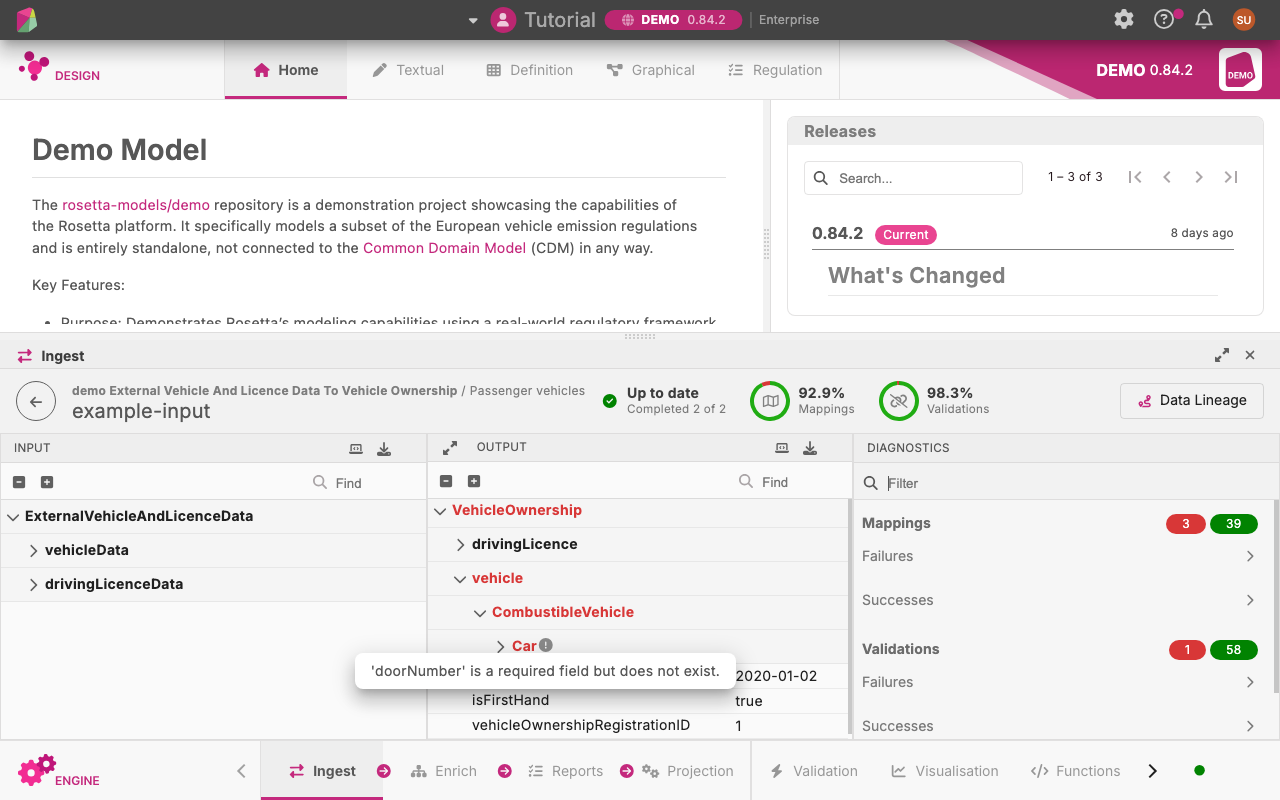
- In the Output panel, expand the red highlighted elements until you see a warning icon.
- Hover over the warning to see the message:
doorNumber is a required field but does not exist.
- In the Textual View, click the Go to Symbol icon (the Pin icon) in the toolbar, then enter
Car.
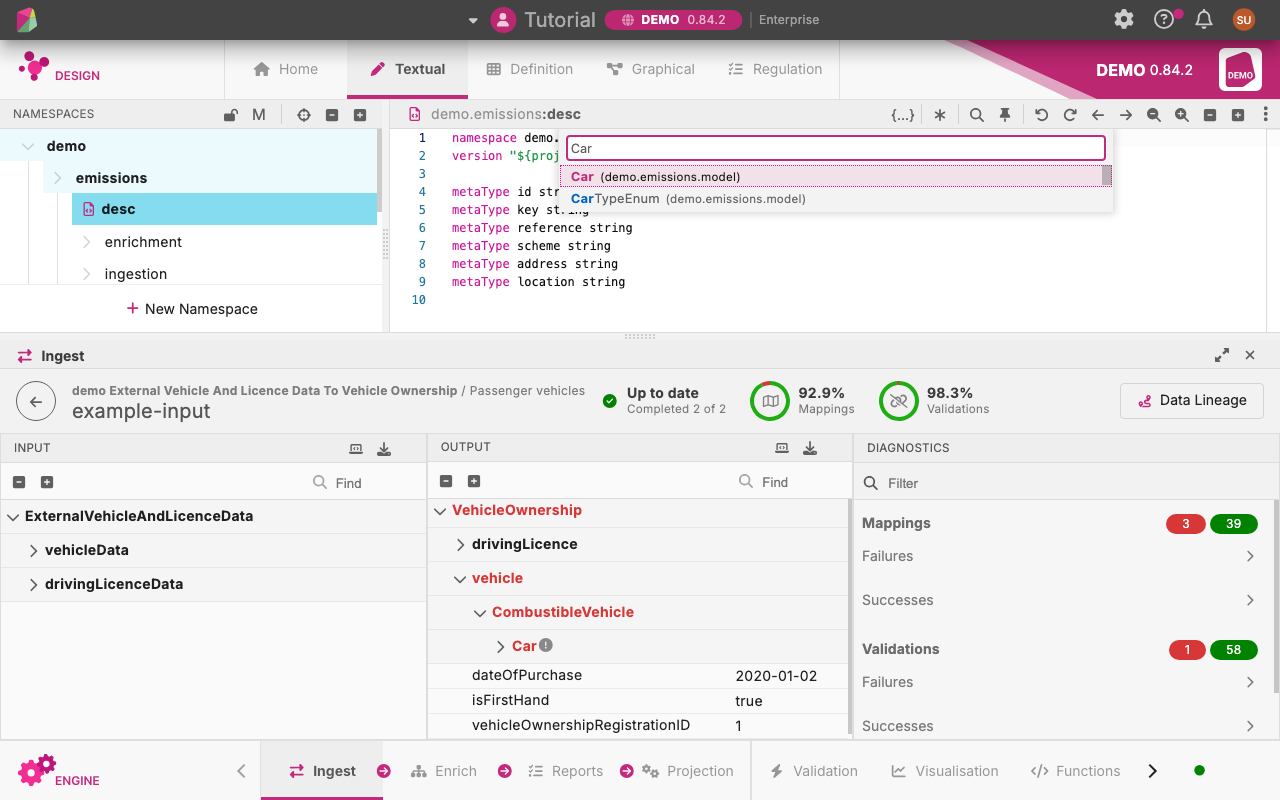
- Select Car from the dropdown. The definition opens:
type Car extends VehicleBase
VehicleOwnership → vehicle → CombustibleVehicle → Car. Click Car to jump directly to its definition.- Right-click
VehicleBase(or useCommand+ click on macOS /Ctrl+ click on Windows) to jump directly to its definition. The field definition is:doorNumber int (1..1)
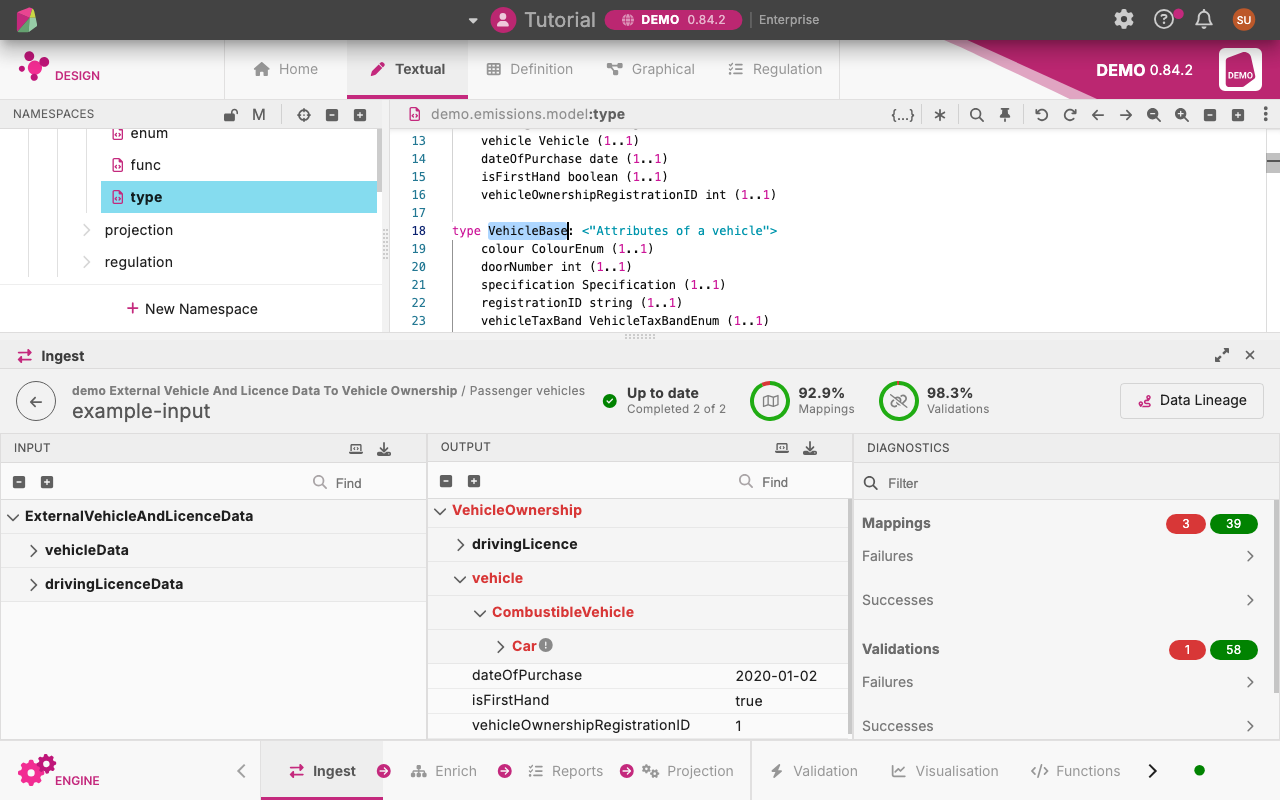
The cardinality constraint (1..1) dictates that this field is strictly required, which is why our sample failed full validation.
Task 4: Modifying the Sample Data to Resolve Validation Mismatches 
Let’s update the sample so it satisfies the required model constraints.
Navigate back to your Ingest Sample List.
Hover over your uploaded sample and click the Edit (pencil) icon.
In the pop-up code editor window, add the missing required element:
1<doorNumber>4</doorNumber>Click Save.
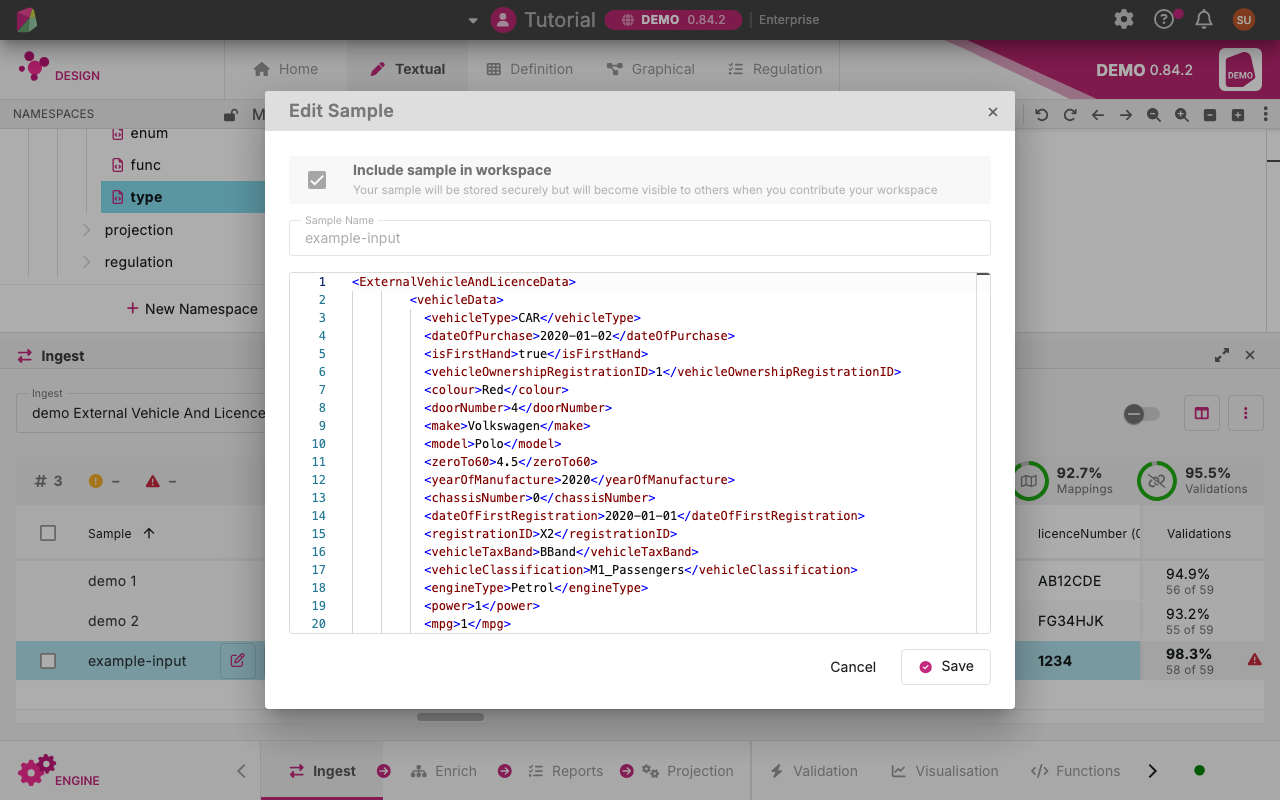
Rosetta automatically re-runs ingestion. You should now see a 100% Expectation Match for this sample, indicating that all required fields have been successfully mapped.
Task 5: Signing out 
When you’ve finished the tutorial, you can safely log out of your session.
- Click on your profile menu at the top right of the screen.
- Select Sign Out.